These chocolate covered strawberry hot cocoa bombs taste just like the romantic treats! Fill them with strawberry milk powder for pink cocoa!
Get ready for Valentine’s Day with these fun hot cocoa bombs! These heart-shaped hot cocoa bombs are a fun way to celebrate love on Valentine’s Day.

Disclaimer: Any products that I link to on Amazon.com are affiliate links. That means I will earn a small commission if you shop through my link, but at no extra cost to you. Thank you!
Easy Video
Here’s a quick video showing you how to make these fun treats!
Chocolate Covered Strawberry Hot Cocoa Bombs
I worked closely with a friend to come up with this unique recipe! It’s so fun and really does taste just like chocolate covered strawberries! Use heart-shaped silicone molds for Valentine’s Day. These make super-cute gifts and they are a lot of fun to make!
Supplies For Heart-Shaped Hot Cocoa Bombs
Get these supplies for your hot cocoa bombs:
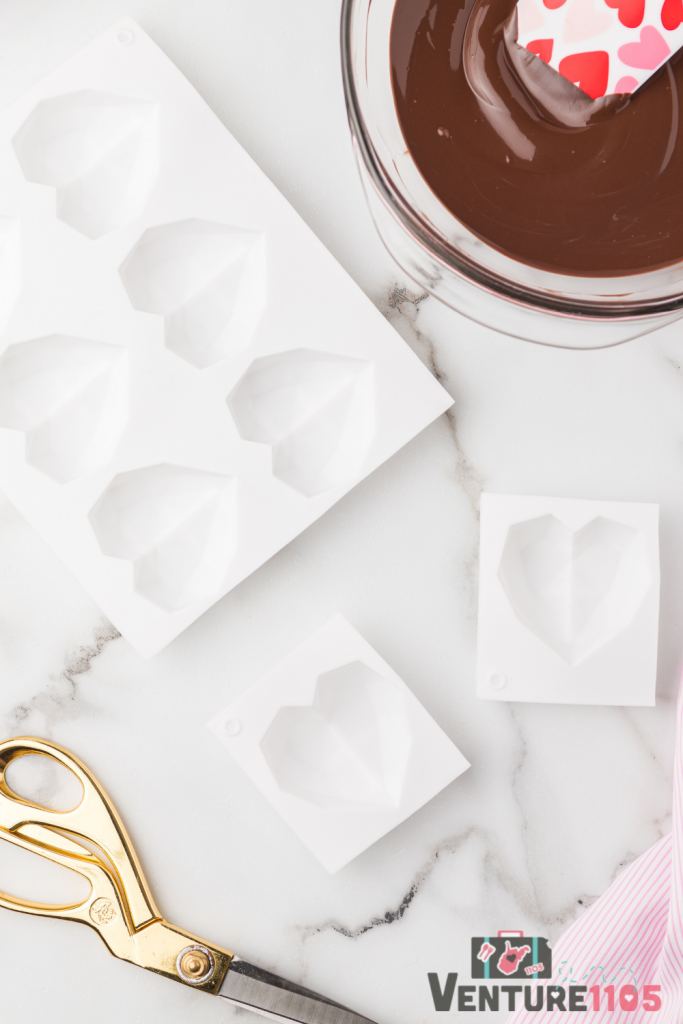
- Heart-Shaped Silicone Molds – Choose one of the two options below.
- Diamond Heart Silicone Mold – this is the one I used. It gives the chocolate bombs a fun texture.
- Smooth Silicone Molds – This has a smoother exterior and might be easier to use than the one I used.
- Ghiradelli Melting Chocolate Wafers – These really do melt the best and are the easiest to work with.
- Mini Marshmallows
- Strawberry Nesquick
- Valentine’s Day Coffee Mug
- Cake Decorating Paint Brushes
- Valentine’s Day Sprinkles
- Piping Bags

How To Make Valentine’s Day Hot Cocoa Bombs
The entire step-by-step recipe is in the printable recipe card at the bottom of this post. First, I have photos of the process along with some really important tips.

Gather Your Ingredients
You will need the melting wafers, strawberry Nesquik, and mini marshmallows.

Melt The Chocolate
I have some important tips for this step.
I tried both dark chocolate chips and melting wafers. The melting wafers looked splotchy when I took them out of the mold for some reason. I’ve used Wilton melting wafers before with no problems, but when I went to Michaels to buy them, they no longer carry that brand, so this is what I used. I think I’d try the Ghirardelli melting wafers next time based on this experience.
Next, I tried dark chocolate chips. I tempered the chocolate using these directions and it worked much better than the melting wafers. The tempered chocolate also seemed to melt (and taste) better in the actual hot cocoa.

Fill the Silicone Molds
Trust me, cutting the molds apart made them so much easier to work with. When you fill them with the chocolate, you can try to use a spoon, but a small paintbrush is a lot easier.

Let The Chocolate Set
I just put all of the hearts on a baking sheet and let them chill in the fridge for about an hour.
When they are set, be careful when you remove them from the molds.
One of the biggest issues I had was that the edges kept breaking off when I went to take the chocolate out of the mold. On the last batch that I made, I applied a second coating of chocolate after the chocolate had originally set, primarily around the edge of the mold.
This seemed to make the edge a little thicker and it definitely had less breakage. I would definitely recommend a second coating around the edge!
When taking the chocolate out of the mold, take special care to slowly release the edges of the chocolate from the mold very carefully before taking the entire thing out of the mold.

Fill With Strawberry Nesquik
This is the fun part. Fill one side of the hearts with Nesquik. Add a few marshmallows.
Then, place the two halves together. Lightly press the empty chocolate heart on a hot plate (I warmed mine in the microwave) just until it barely starts to melt. Then, set it on top of the filled heart.
Use a paintbrush dipped in some melted chocolate to spread more chocolate around the seam. Let them sit until they solidify together.
If the edges of the shell break a little, you can use a little melted chocolate from the piping bag around the seam. Roll the seam into some sprinkles while the chocolate is still melted to cover it up.
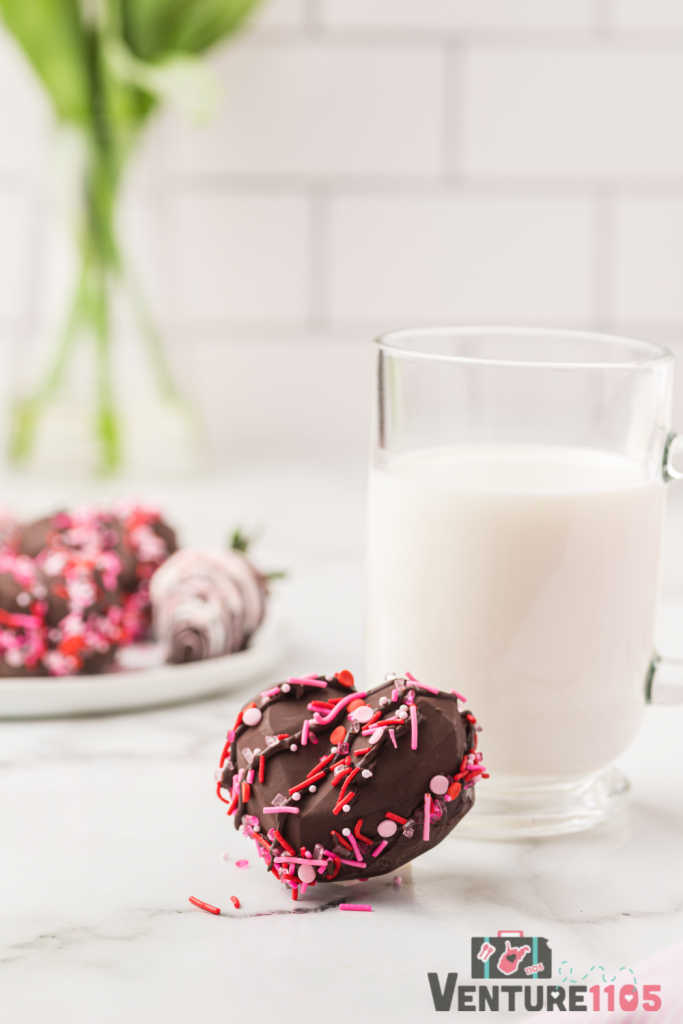
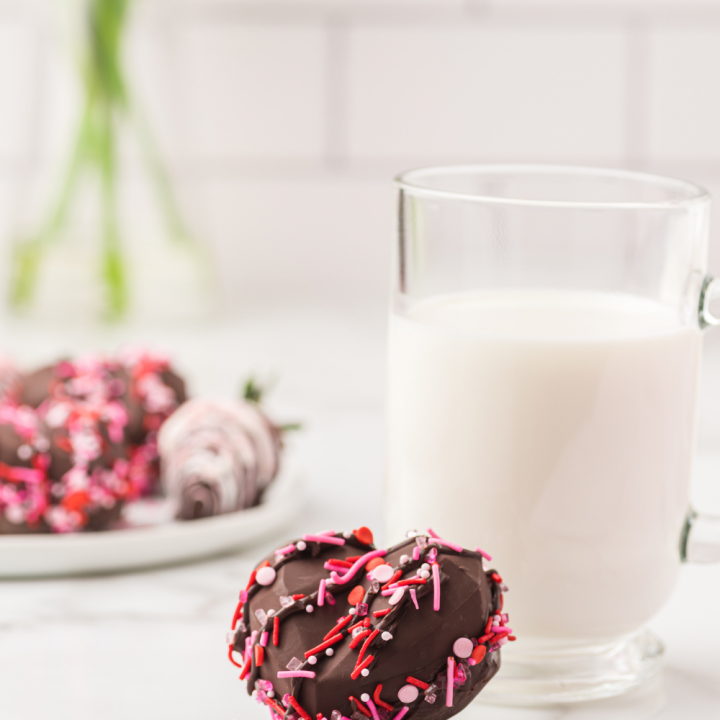
Enjoy Strawberry Hot Cocoa Bombs For Valentine’s Day
To serve them, just place one of the heart-shaped cocoa bombs into a glass. Fill it with hot, steamed milk. The hot cocoa bomb will magically begin to melt and your glass will be filled with both chocolate and strawberry Nesquik! YUM!!
Chocolate Covered Strawberry Hot Cocoa Bombs
Here is the complete recipe! Don’t forget to pin this post to your Valentine’s Day Pinterest board so you can find it later – and share it with your friends.
Chocolate Covered Strawberry Hot Cocoa Bombs
These heart-shaped hot cocoa bombs are filled with strawberry Nesquik and make your hot cocoa taste like chocolate-covered strawberries!
Ingredients
- 2 cups chocolate melting wafers
- 1 bag mini marshmallows
- 2 cups strawberry Nesquik
Instructions
- If using melting wafers, melt the chocolate according to the package instructions. If using chocolate chips, temper the chocolate for best results.
- Use a spoon to add melted chocolate to the silicone mold. Use the spoon or a small (new) paintbrush to spread the chocolate around the mold.
- Once the chocolate has been added to each of the molds, place the molds in the refrigerator until the chocolate is set.
- Remove the chocolate from the molds. Reserve half of the shells to be used as the top of the cocoa bomb.Add 2 tablespoons of strawberry Nesquick to the bottom of one of the chocolate shell. Sprinkle 5-6 marshmallows on top of the strawberry powder.
- Pour the remaining melted chocolate into a disposable piping bag and remove the tip.
- Pipe the chocolate along the edge of one of the empty chocolate shells and place it on top of the filled chocolate shell.
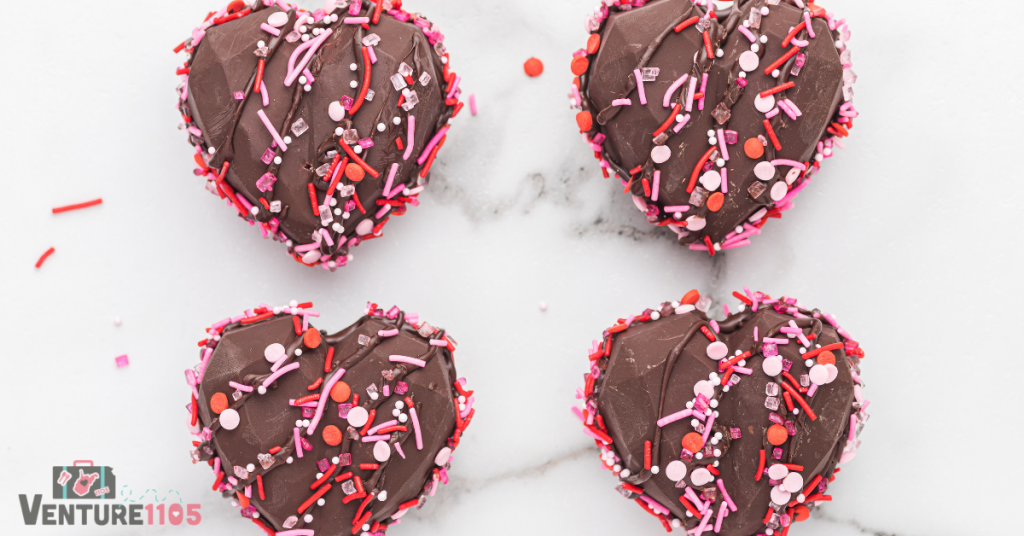
- Drizzle the tops of the cocoa bombs with melted chocolate and sprinkles.
Notes
One of the biggest issues I had was that the edges kept breaking off when I went to take the chocolate out of the mold. On the last batch that I made, I applied a second coating of chocolate after the chocolate had originally set, primarily around the edge of the mold. This seemed to make the edge a little thicker and it definitely had less breakage. I would definitely recommend a second coating around the edge!
When taking the chocolate out of the mold, take special care to slowly release the edges of the chocolate from the mold very carefully before taking the entire thing out of the mold.
If the edges of the shell break a little, you can use a little melted chocolate from the piping bag around the seam. Roll the seam into some sprinkles while the chocolate is still melted to cover it up.

More Valentine’s Day Ideas
Here are some more fun ideas you can do on Valentine’s Day!
8 factors for Importance of Professional Painting Services
Elevating Aesthetic Appeal
Protection and Longevity
Professional Expertise and Efficiency
Trusted Reputation and Customer Satisfaction
Comprehensive Services Tailored to Your Needs
Cutting-Edge Techniques and High-Quality Materials
Transformative Exterior Makeovers
Enhancing Protection and Durability
https://losanews.com/enhance-your-homes-appeal-with-top-painting-services-in-richmond-hill-on/